

PURPOSE
Why are you adding a windscreen?
The material you choose will determine how well your windscreen performs in a variety of situations. Here are the most common reasons for installing a windscreen:
- Protection from gusting wind
- To see the ball better during play
- To feature your facility’s logo
- To make your courts look more professional

STRENGTH
How Strong is Your Fence?
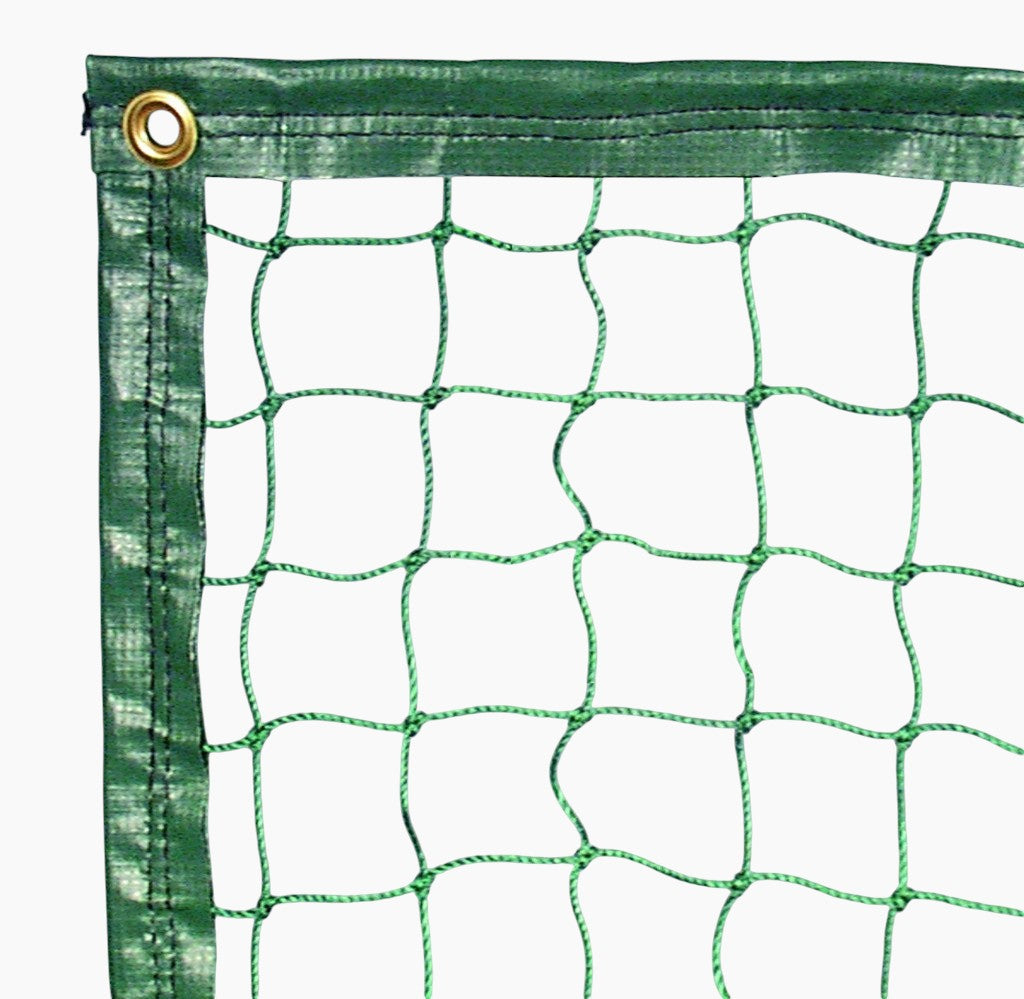
Your fence should be strong enough to support the weight of a windscreen.
Most fences can support any Har-Tru windscreen; however, lighter material and a 6’ screen are suggested for lower gauge or weaker fencing.

SURROUNDINGS
What else is on your court?
Look for gates and transoms, drop-downs, unusual angles in the fence, and anything else around your court that might affect the windscreen you choose and how you install it.
When you have a good overview of your site, it’s time to make a detailed plan.
WINDSCREEN BASICS
What to know before you buy
• See the ball better and increase reaction time
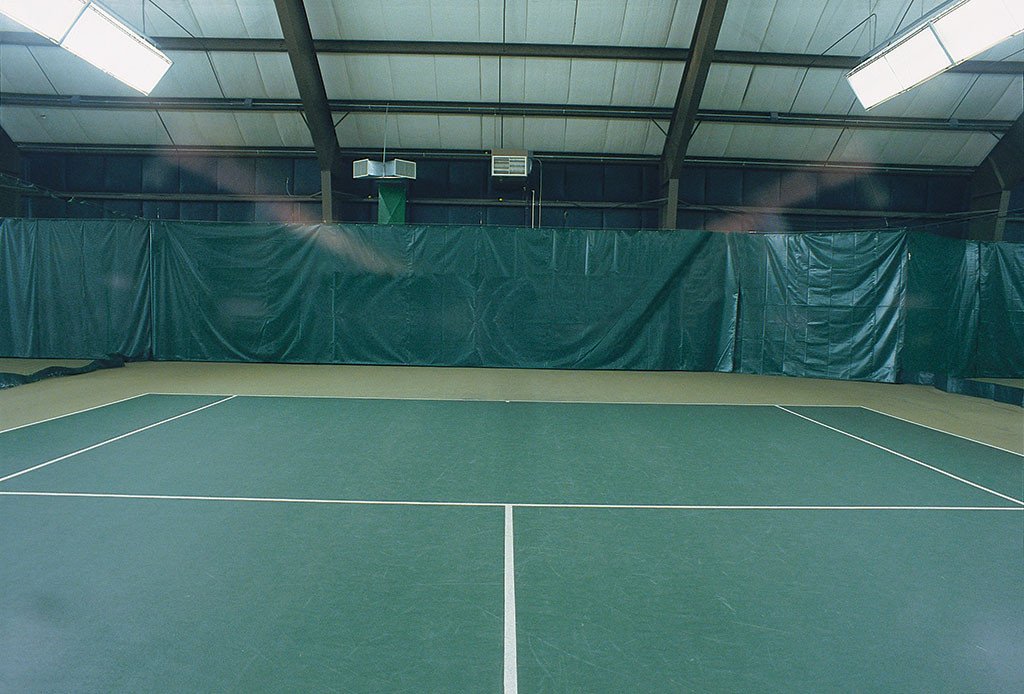
Windscreens cover the fences surrounding a tennis court. All Har-Tru windscreens work well to break up gusting winds, allow even air flow, and provide protection against sunlight and glare.
• Give courts a refined and pleasing appearance
Windscreens add a professional touch to any court. They provide privacy between the court and nearby buildings, roads, players on adjacent courts, and other things you want to block from view. When a logo is added, they also help brand and identify your facility.
• Create seclusion and eliminate off-court distractions
Windscreens provide better ball visibility. The sport of tennis takes a lot of concentration and distractions can seriously affect your game. Dark colored windscreens provide a consistent background and contrast against a yellow tennis ball. They block out disruptions that can take away your focus.
• Enjoy your game without gusting wind or glare
• Standard heights are 6' or 9'
Windscreens usually come in heights of 6' or 9'.
Nine foot screens provide more coverage and are recommended for most tennis court fences. All 9’ windscreens include anti-billowing center tape, and vents are recommended to reduce wind pressure on the screen and fence.
Six foot screens place less strain on fences and are a good choice for facilities located near the water, in locations with very strong winds, or where weaker fences are an issue. Vents are not necessary for 6’ screens.
• Custom heights made to your specifications
Custom sizes are available for shorter or taller fence segments.
• Lengths up to 150’ are available. Lengths under 60’ are strongly recommended.
Lengths are available up to 150’, but single segments should be no longer than 60’ for ease of installation and maintenance.
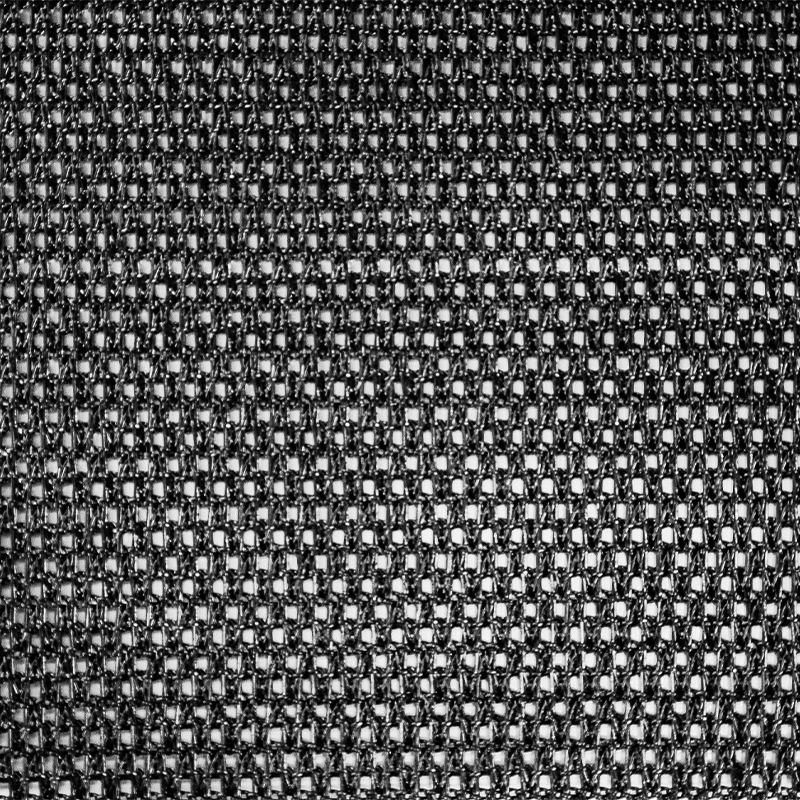
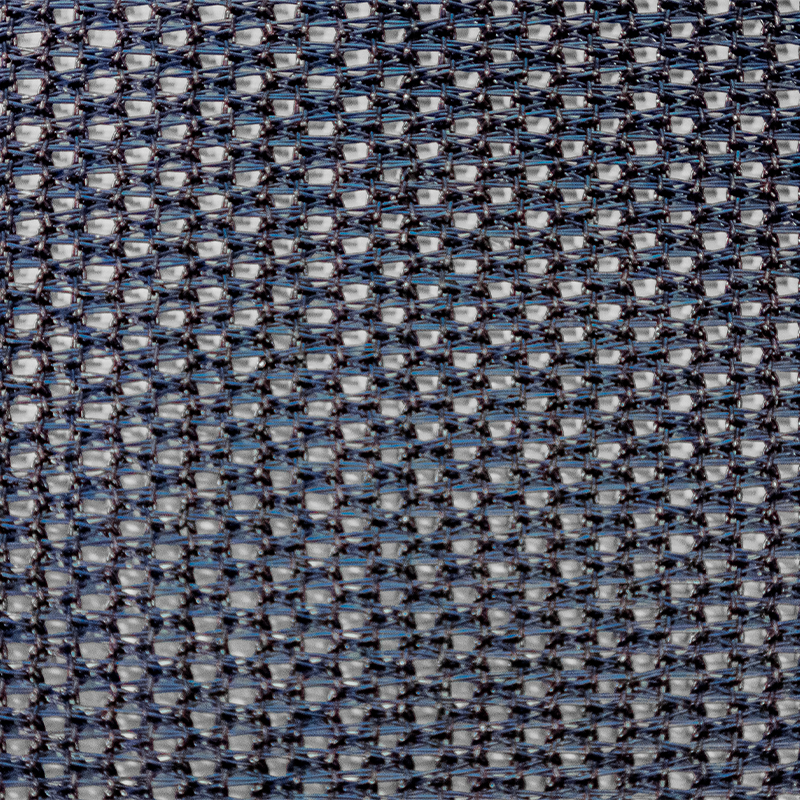
• Closed mesh – 95% opacity
• Open mesh – 75-85% opacity
• Higher opacity increases privacy
• Lower opacity puts less strain on the fence
Windscreens are made with either open or closed mesh fabric. Denser, closed mesh windscreens have an opacity of 95%, while open mesh screens have an opacity of 75-85%.
Closed mesh windscreens provide more privacy. However, their denser weave adds weight and makes the fence more susceptible to damage from strong winds. They are recommended for areas with very little wind, or where near-complete privacy is essential.
Open-mesh windscreens provide only slightly less privacy, and are not as likely to be damaged by wind stress. They are recommended for almost any type of court to better protect the fence.
• Reduce wind pressure on screens
Vents in windscreens are designed to prevent wind damage to the fences they cover. They allow some wind to pass through the screen, reducing strain on the fence and fasteners.
• Increase durability and life of the screen
• Always recommended for 9’ screens
Vents are highly recommended for all 9' screens to reduce the effects of wind and increase durability. This is especially true for denser closed mesh fabric.
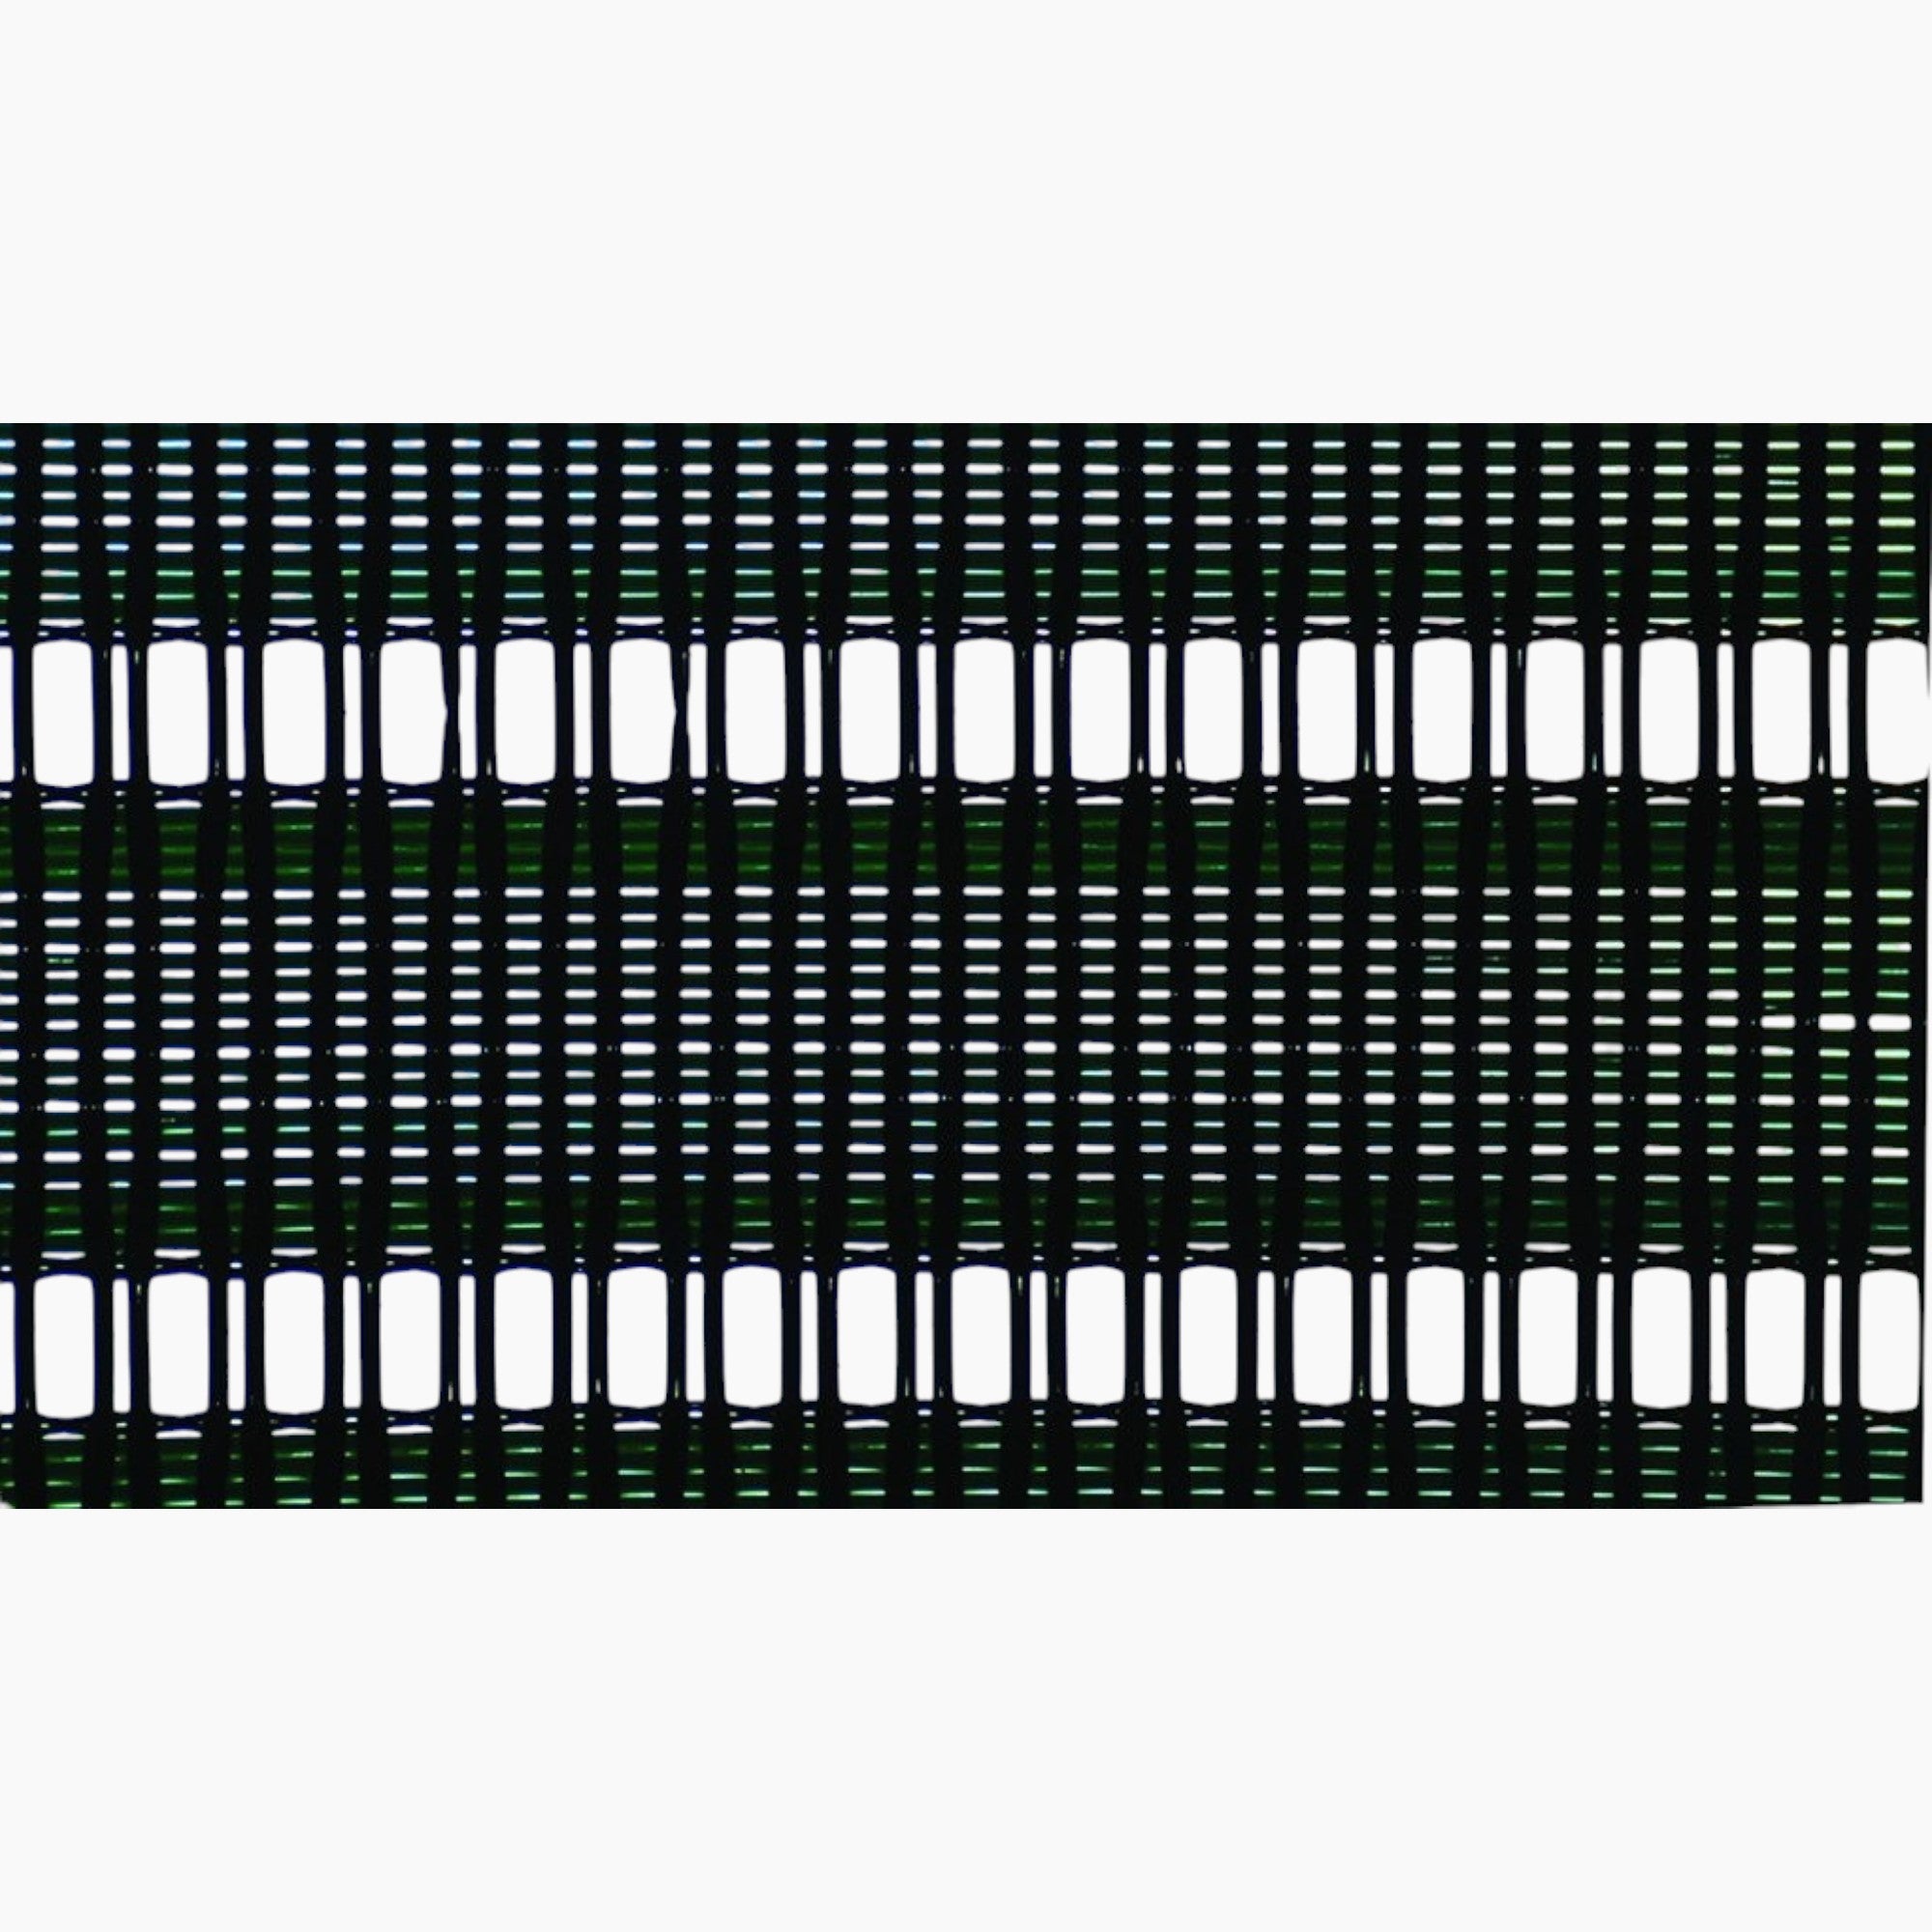
• Available in half moon, rectangle, and square windows
Available in half moon, rectangle, or square cut windows, vents are installed approximately every 10’ along the windscreen segment.
• Accurate measurements are essential
• Always diagram your courts
• Measure the inside area of the fence
• Get step-by-step instructions
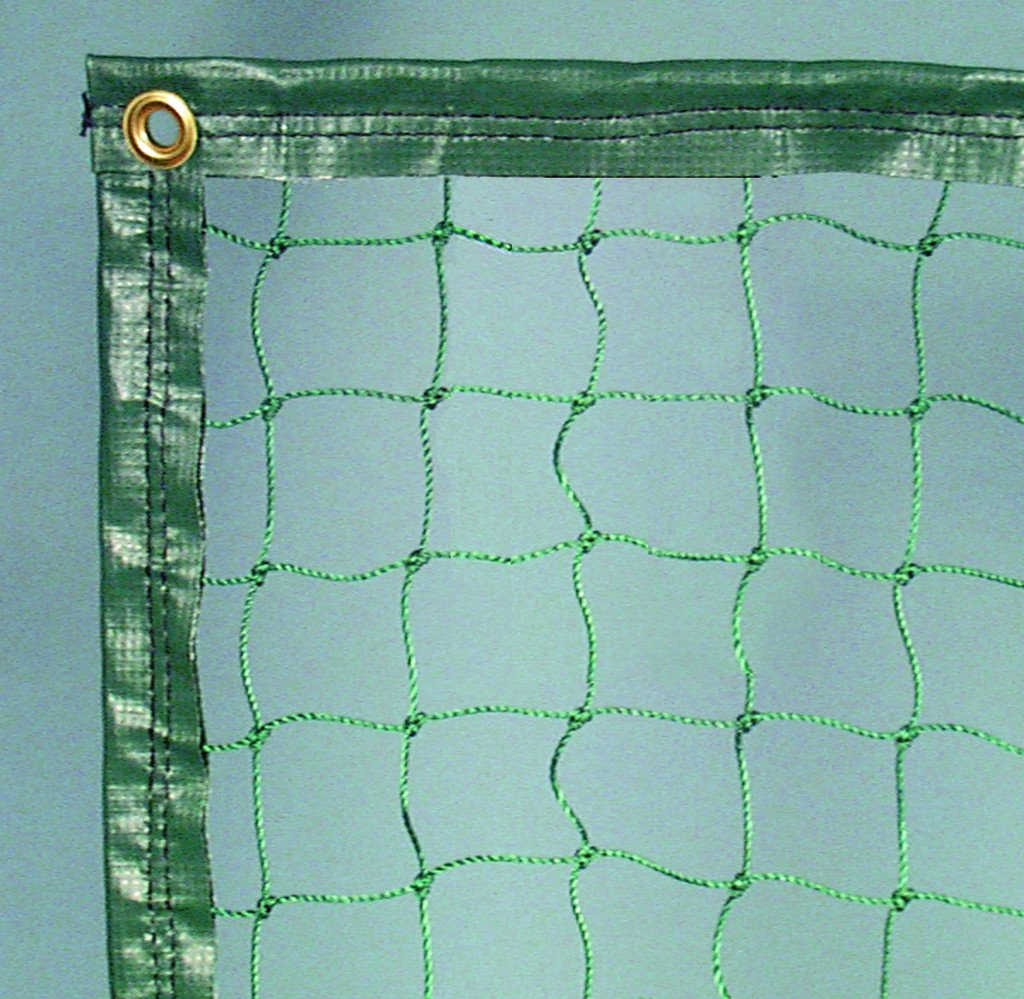
Windscreens are custom cut to the length and height of each fence segment. Every fence measurement is different, even on different sides of the same court. Precise measurements and a diagram of your court are vital for purchasing and installing your windscreen.
A segment’s length is determined by measuring the inside area between two terminal posts. Terminal posts can be a corner post, gate post, or a post at the transition from one fence height to another.
Shop Windscreens
Back to top